Woohoo! It's almost the end of the week!! I sure miss lazing around the house during the holidays!
For today's post, I'd thought it would only be fair to highlight some upcoming indie collections as well. Unfortunately, there really isn't much information available for me to work on so I decided to blog about some of the indie brands to-watch in the coming year. I will not be touching on the wildly popular indies (eg. KBShimmer, Girly Bits, Dollish Polish, Pretty & Polished, etc) but instead I will focus on some of the equally-deserving but less popular indie brands. They may or may not be new to some of you but they have recently caught my eye and I have grown to have high expectations of them.
![]()
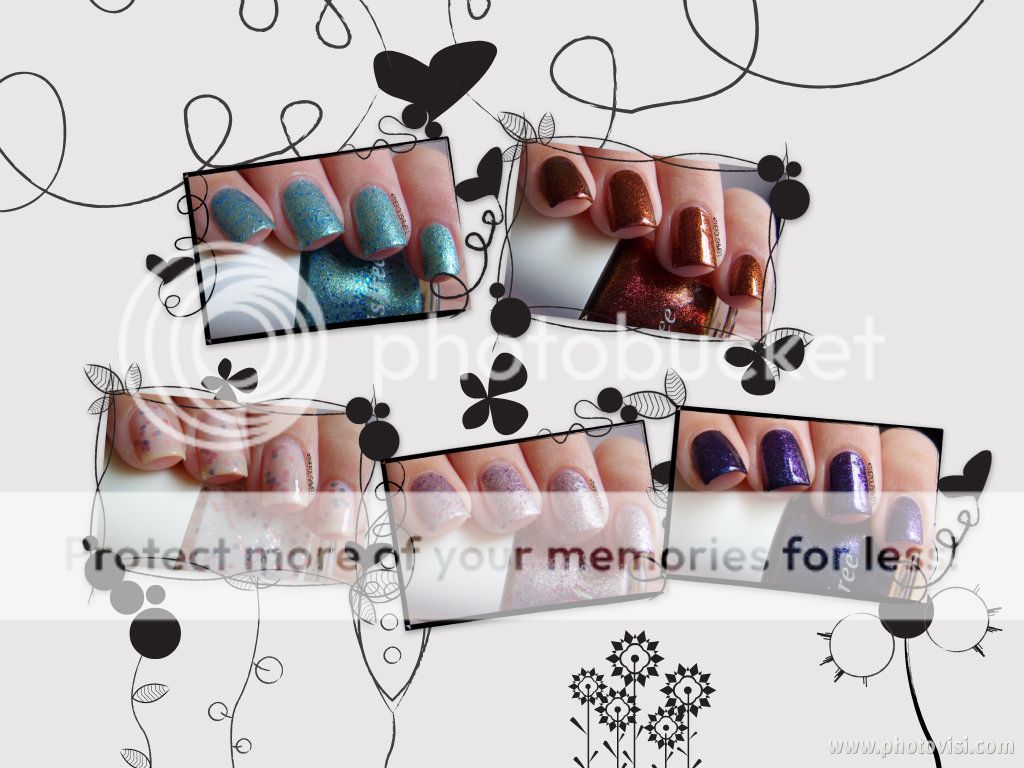
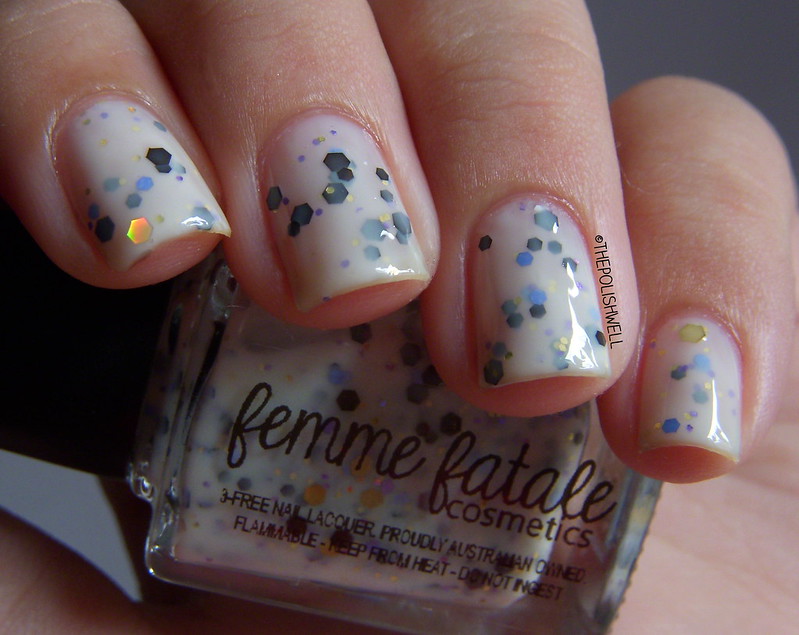
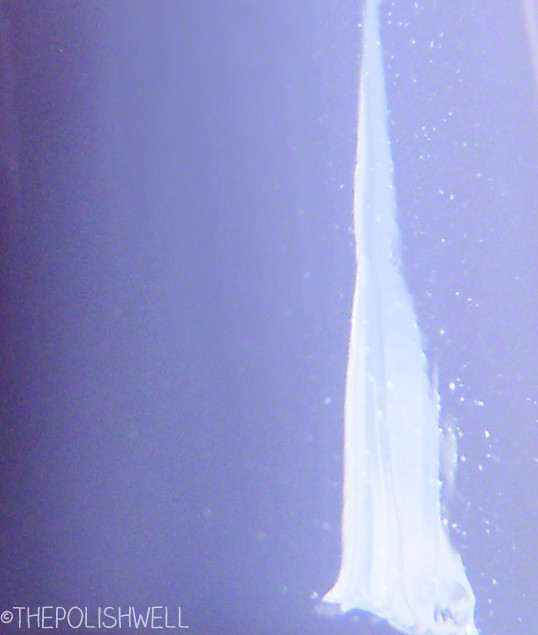
![]() Ranking right at the top of my list is Femme Fatale Cosmetics. Keeping true to their name and logo, FFC has churned out many bold and richly-colored glitters fitting of a sexy and confident femme fatale. I was surprised to find myself drooling over most if not all of their polishes and I definitely look forward to seeing more pretties from them this year. And... it seems like they are already off to a good start! You can hop over to their Facebook page to see some of the newest additions to their line. I'm loving Librarian's Shush, Lucent Ametrine and Party Grenade already.
Ranking right at the top of my list is Femme Fatale Cosmetics. Keeping true to their name and logo, FFC has churned out many bold and richly-colored glitters fitting of a sexy and confident femme fatale. I was surprised to find myself drooling over most if not all of their polishes and I definitely look forward to seeing more pretties from them this year. And... it seems like they are already off to a good start! You can hop over to their Facebook page to see some of the newest additions to their line. I'm loving Librarian's Shush, Lucent Ametrine and Party Grenade already.
![]()
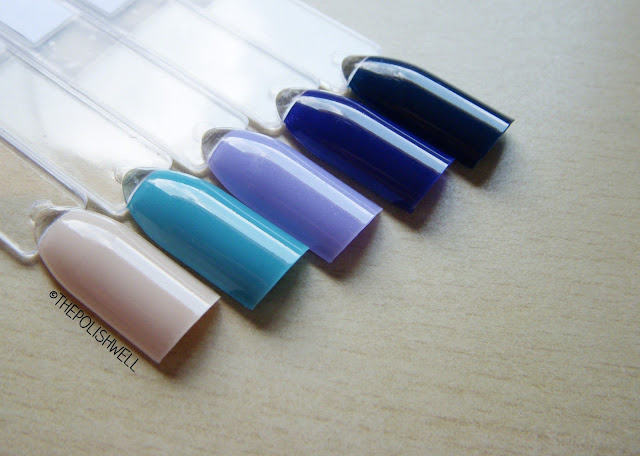
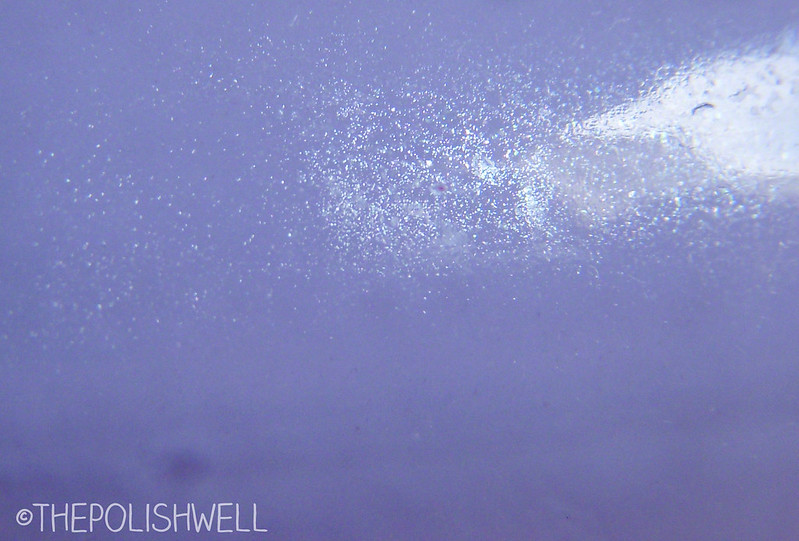
Another indie that has won over my heart is Emily de Molly. I love her creative and unexpectedly beautiful mixes. I don't know what other color combos Hayley has up her sleeves (I'm not as good with colors) but I sure hope she keeps them coming! You can hop over to her Facebook page to check out swatches of her polishes.
![]()
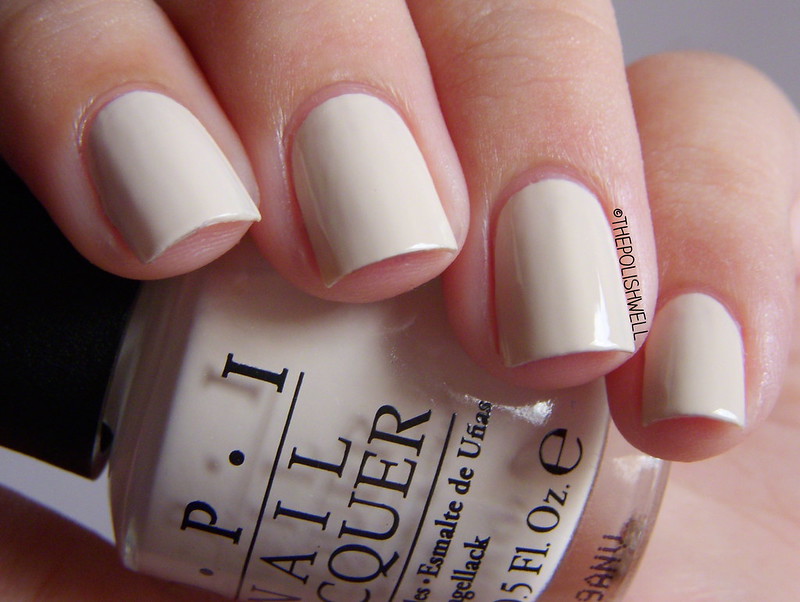
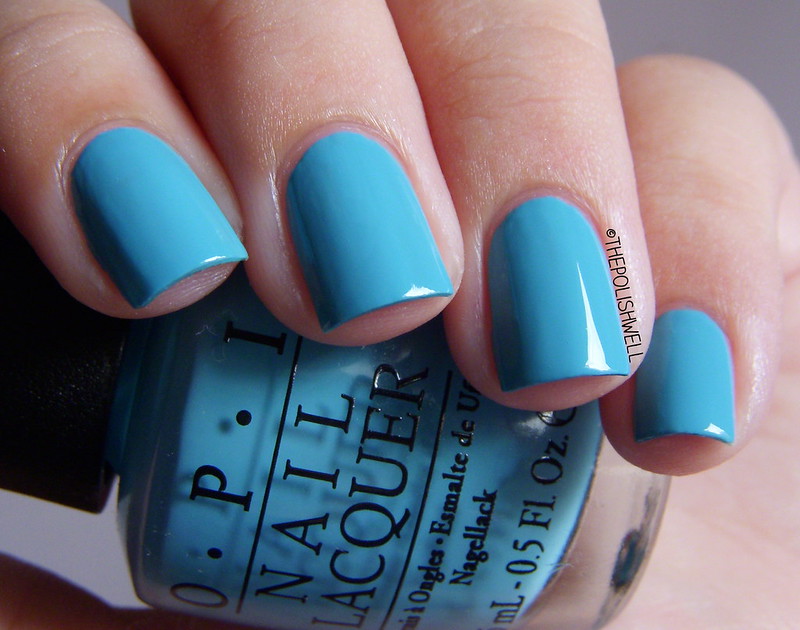
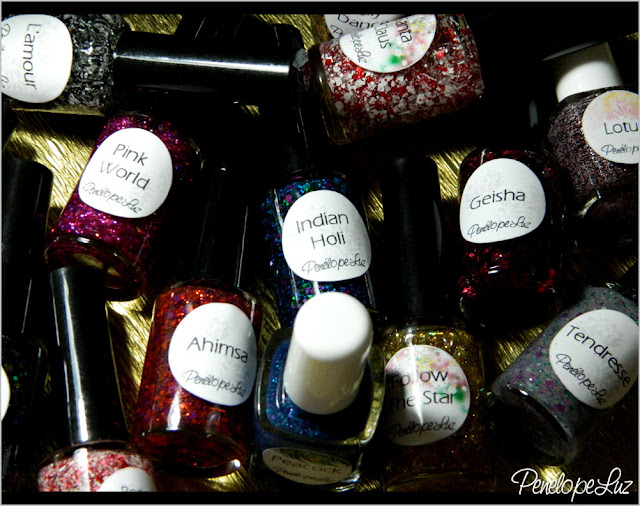
Penélope Luz is a brand that I've stumbled upon at PAA. Penélope first started posting swatches of her beautiful frankens on Flickr and PAA and I fell in love almost immediately. She has since started her own line of polishes and is currently selling them through some Brazilian websites. At least that's what I think - I relied mainly on Google Translate to help me go through her Facebook page and her blog and you know how crazy Google Translate can get sometimes. Urgh. I need to get my hands on these somehow...
![]()
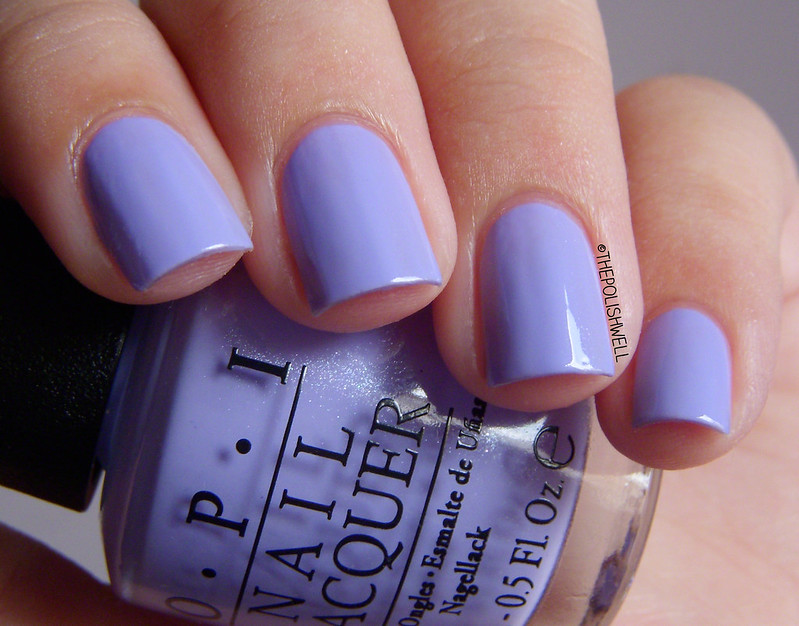
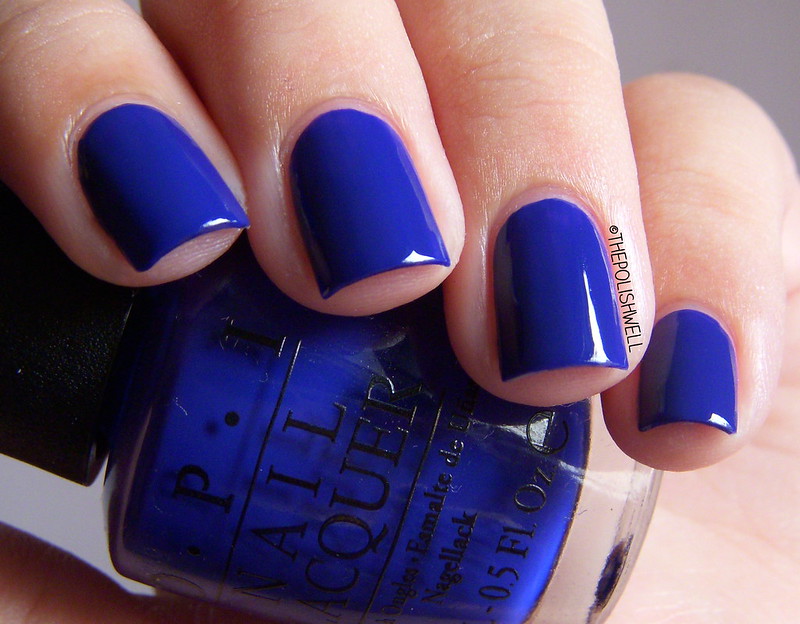
At first glance, you might mistake Cirque for a lab-indie. The name, logo and packaging totally exudes style and class in all degrees. So you can imagine my shock when I found out that it is actually hand-blended polish! Of course, we polishaholics should know better than to judge a polish solely by its bottle - so let's talk about the polish. They have a good mix of darks and lights that are gorgeous and always elegant. Don't believe me? You can check them out at their Facebook page or simply google for swatches. You will know what I mean.
![]()
xoxo,
mich
P.S. Don't forget to enter our year-end giveaway to win amazing polishes from both mainstream and indie brands! Ends 12 Jan 2013.
For today's post, I'd thought it would only be fair to highlight some upcoming indie collections as well. Unfortunately, there really isn't much information available for me to work on so I decided to blog about some of the indie brands to-watch in the coming year. I will not be touching on the wildly popular indies (eg. KBShimmer, Girly Bits, Dollish Polish, Pretty & Polished, etc) but instead I will focus on some of the equally-deserving but less popular indie brands. They may or may not be new to some of you but they have recently caught my eye and I have grown to have high expectations of them.
Femme Fatale Cosmetics


Emily De Molly

Another indie that has won over my heart is Emily de Molly. I love her creative and unexpectedly beautiful mixes. I don't know what other color combos Hayley has up her sleeves (I'm not as good with colors) but I sure hope she keeps them coming! You can hop over to her Facebook page to check out swatches of her polishes.
Penélope Luz
Penélope Luz is a brand that I've stumbled upon at PAA. Penélope first started posting swatches of her beautiful frankens on Flickr and PAA and I fell in love almost immediately. She has since started her own line of polishes and is currently selling them through some Brazilian websites. At least that's what I think - I relied mainly on Google Translate to help me go through her Facebook page and her blog and you know how crazy Google Translate can get sometimes. Urgh. I need to get my hands on these somehow...
Cirque

At first glance, you might mistake Cirque for a lab-indie. The name, logo and packaging totally exudes style and class in all degrees. So you can imagine my shock when I found out that it is actually hand-blended polish! Of course, we polishaholics should know better than to judge a polish solely by its bottle - so let's talk about the polish. They have a good mix of darks and lights that are gorgeous and always elegant. Don't believe me? You can check them out at their Facebook page or simply google for swatches. You will know what I mean.
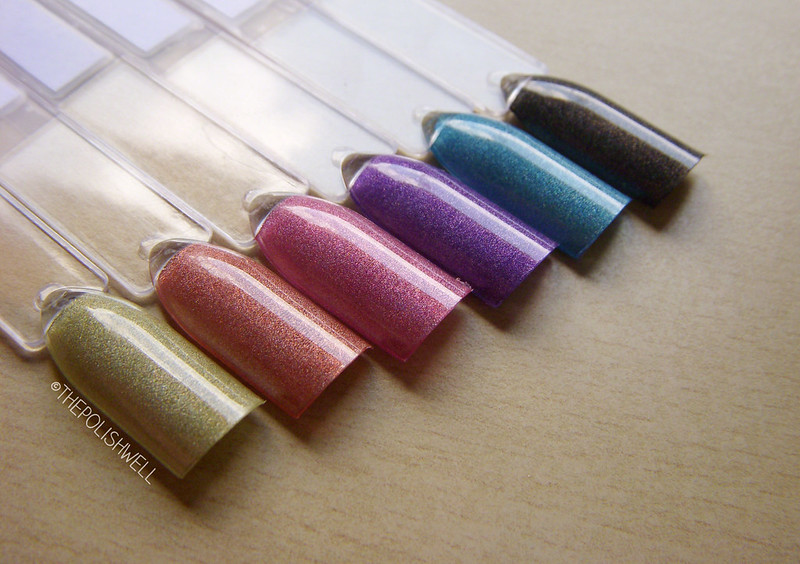
Nail Pattern Boldness

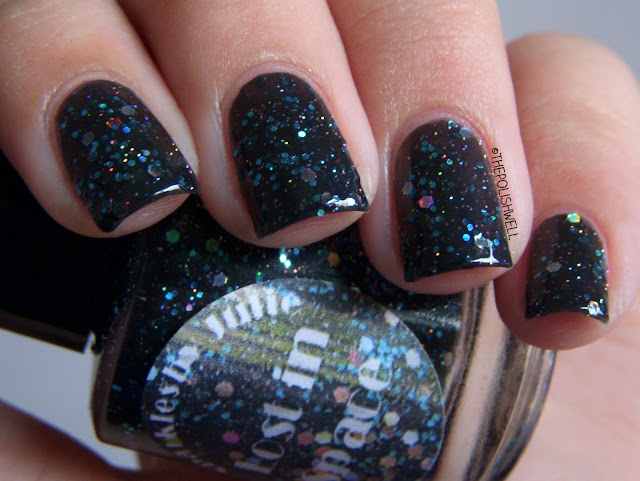
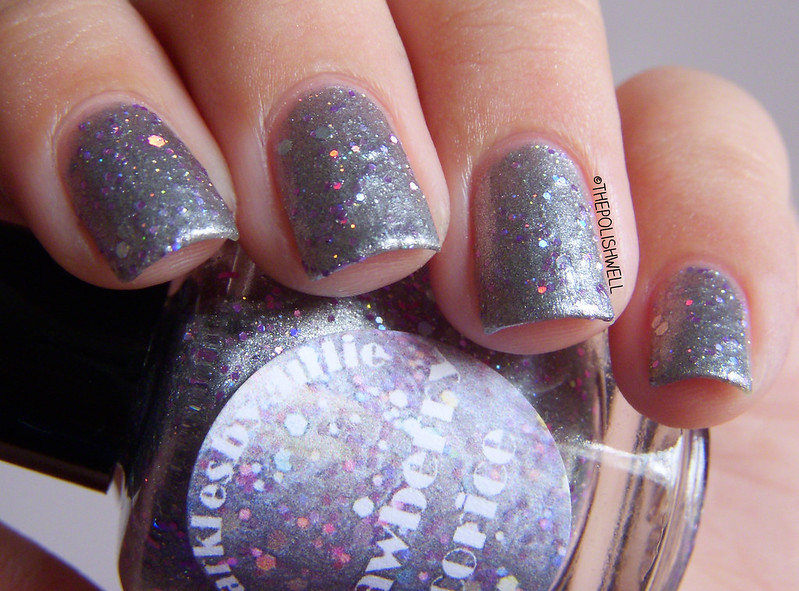
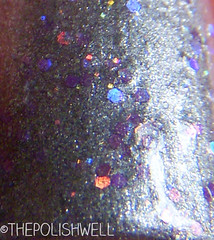
Ok ok! Last one! I promise!! Nail Pattern Boldness is another brand that recently caught my eyes. The colors are gorgeous. Just look at this Time Traveler collection! You can hop over to her Facebook page to check out some of her polishes.
There are many many many many more deserving indie labels under the radar that I've yet to cover / explore.
What do you recommend?
xoxo,
mich
P.S. Don't forget to enter our year-end giveaway to win amazing polishes from both mainstream and indie brands! Ends 12 Jan 2013.